
Vision mixer tutorial:

After creating a background and saving said background on the SD card of the Panasonic Live Switcher AV HS410, the first task is applying that background to the visual output.

To do this the SD card button (pictured above) must be pressed, this will bring up the necessary functions on the bottom of the mixer's monitor (pictured below)

From here, the load out menu for the backgrounds saved on the SD card can be accessed by pressing F2 and then again on 'load', this should bring up a list of possible backgrounds and providing your preference has been saved with an appropriate name, it should be easy to find by scrolling with F2 and depressing F4 on your choice.


To return to the visual feeds press the Chromakey button.

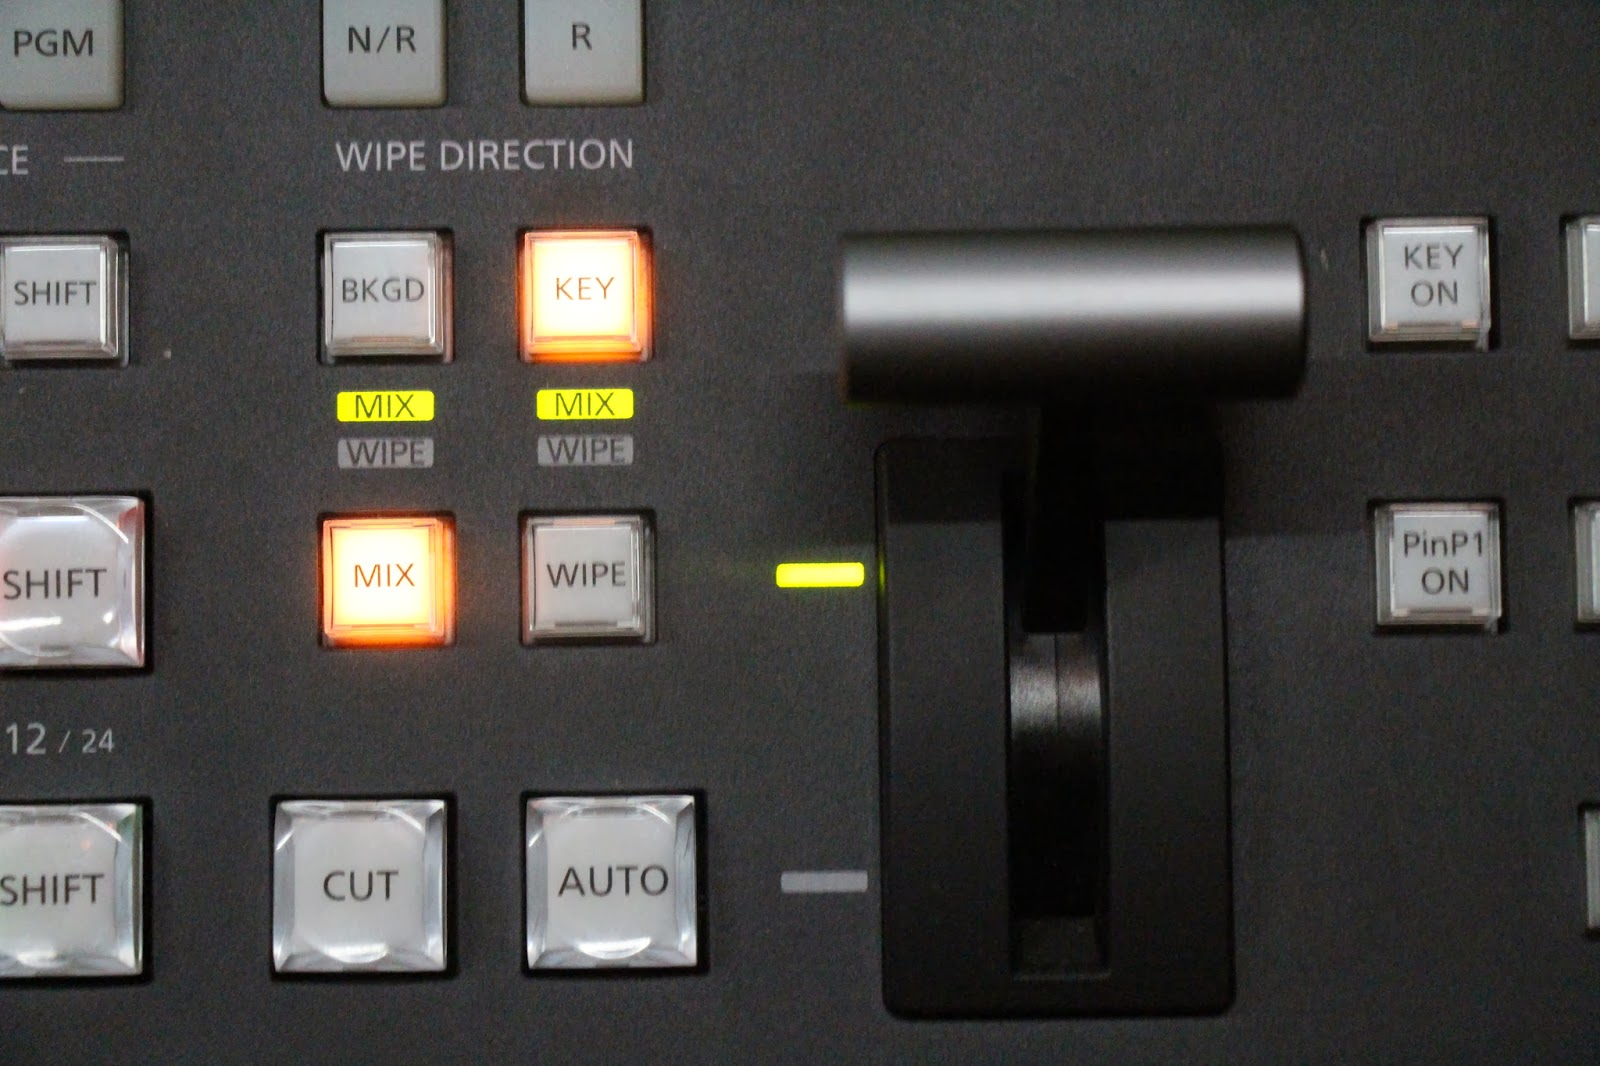
Once opened, you may find that the live visual you wish to layer on top of the background is not showing, this is often due to the 'mix' and 'key' button found by the T-bar at the bottom right of the console (pictured below) not being pressed. If the live feed still does not show, Then moving the T-bar will fix this.

Once opened, you may find that the live visual you wish to layer on top of the background is not showing, this is often due to the 'mix' and 'key' button found by the T-bar at the bottom right of the console (pictured below) not being pressed. If the live feed still does not show, Then moving the T-bar will fix this.
Once the appropriate background has been applied and the live feed brought up to the front you may find that the background is grainy and transparent. To fix this; make sure you are on chromakey and rotate F1 until you have reached the sample menu (pictured below)

Once on the sample menu you will need to select the background colour, This can be done by clicking F3, bringing up a selection menu that should have a 'select background colour' (check).

Once you have selected this by clicking F3, you must use the positioner found at the top right of the console (pictured below) and move the on-screen box onto your green screen and click the Z button ( the Z button can also be rotated to alter the size of the positioner). This tells the mixer which colour it should isolate when applying your background.


Once your background has been applied, you may find that the live feed looks transparent:

To fix this, whilst still on the 'sample' menu, depress F2 and click on the 'matte' option, this will help you ensure that the transparency is wholly eliminated by showing objects and background as black and white respectively.

Then, depress F3 and select 'clean FG noise' from the pop-up menu, using the same functions as when choosing 'select BG colour'.

Once this has been selected, using the positioner and Z functions, click on the objects you wish to bring forward (IMPORTANT: make sure the positioner box is entirely on the object you wish to bring forward, as clicking only partially on the object will bring the background colour forward as an object to be layered over your background, should this happen start again from the BG colour selection stage), this should fix transparency issues (WARNING: clicking on a moving presenter is hard, ask them to stay still).
Once this has been done, slight inconsistencies in the lighting (often due to the material of the green screen) may cause the background to appear translucent or grainy. To fix this, access 'clean BG noise' from the same list that ' clean FG noise' and 'select BG colour' was found.

Much in the same way that the foreground was cleaned, move the positioner onto the grainy areas and click using 'Z', this can be repeated until the grain has gone.
Once these functions have been done, you're good to go!


How do you create a background to save on the SD card to start this whole process off?
ReplyDeleteHow do you create a background to save on the SD card to start this whole process off?
ReplyDeleteHey EvanJZ, you'll have to excuse me as I don't have access to the equipment anymore, but if I remember correctly, we used Adobe fireworks to create the backgrounds. Alternatively, you can use any image, provided you are legally allowed to use it. I found flikr.com to be a good source as you can search for images in the Creative Commons. If you have any other software for making images you should be able to use that as well, such as photoshop etc. I hope that helps! :)
ReplyDelete